
I have always love G3 G4 designs and have already made 4 variant customs out of them so far (with another 3 more planned but stalled for the moment due to lack of materials). The latest I have done is the G3 Rising Titan form.The theory for this G3 form is that Tokyo's Metropolitan Police Department Unidentified Lifeform (M・P・D/S・A・U・L) has secretly upgraded their G3 designs based on Kuuga's Rising Titan Form as a contingency plan. And bla bla bla you can continue to create the back story for this guy however you like bahahaha.
Ok the BIGGEST problem for this particular tutorial is that I was so excited in making this custom back then, I hardly took any photos at all D:
So yea you will just have to try to understand my crappy descriptions *yeek*
For this tutorial (and those that will follow maybe), I am also going to try another form of describing the steps required with an aim to make the tutorial shorter yet comprehensive. So any comments on this method would be most welcomed especially suggestions on improvements.
Also I will be dispensing with descriptions on how to shape putty as I have described that quite a number of time in all my previous tutorials.Thanks! On with the show then.
Workstreams:
1) Long sword
2) Head Sculpt
3) Chest Sculpt
4) Scabbard
5) Belt
Materials required:
1) Epoxy putty (Bondite from hardware stores)
2) Water and a cup to hold water
3) Blade from stationery shops
4) Line engraver from Tamiya
5) Sand paper
6) Metal wires
7) Clear putty (devon 5 min epoxy putty syringe type)
8) Oyumaru resin
9) Some templates such as gundam exia's sword (this is not always necessary. You can always sculpt your own sword hilt)
10) Spare G4 figure plus 2 G3 chainsaw weapon (again one will do but makes things a lot easier and faster if you have 2) I used G4 shoulder pads and head, G3-X chest armor.
11) Tamiya black liner
12) Mr Color paint: Brass, metallic blue, matt black, and metallic silver
13) Some brush and thinner
14) Handdrill
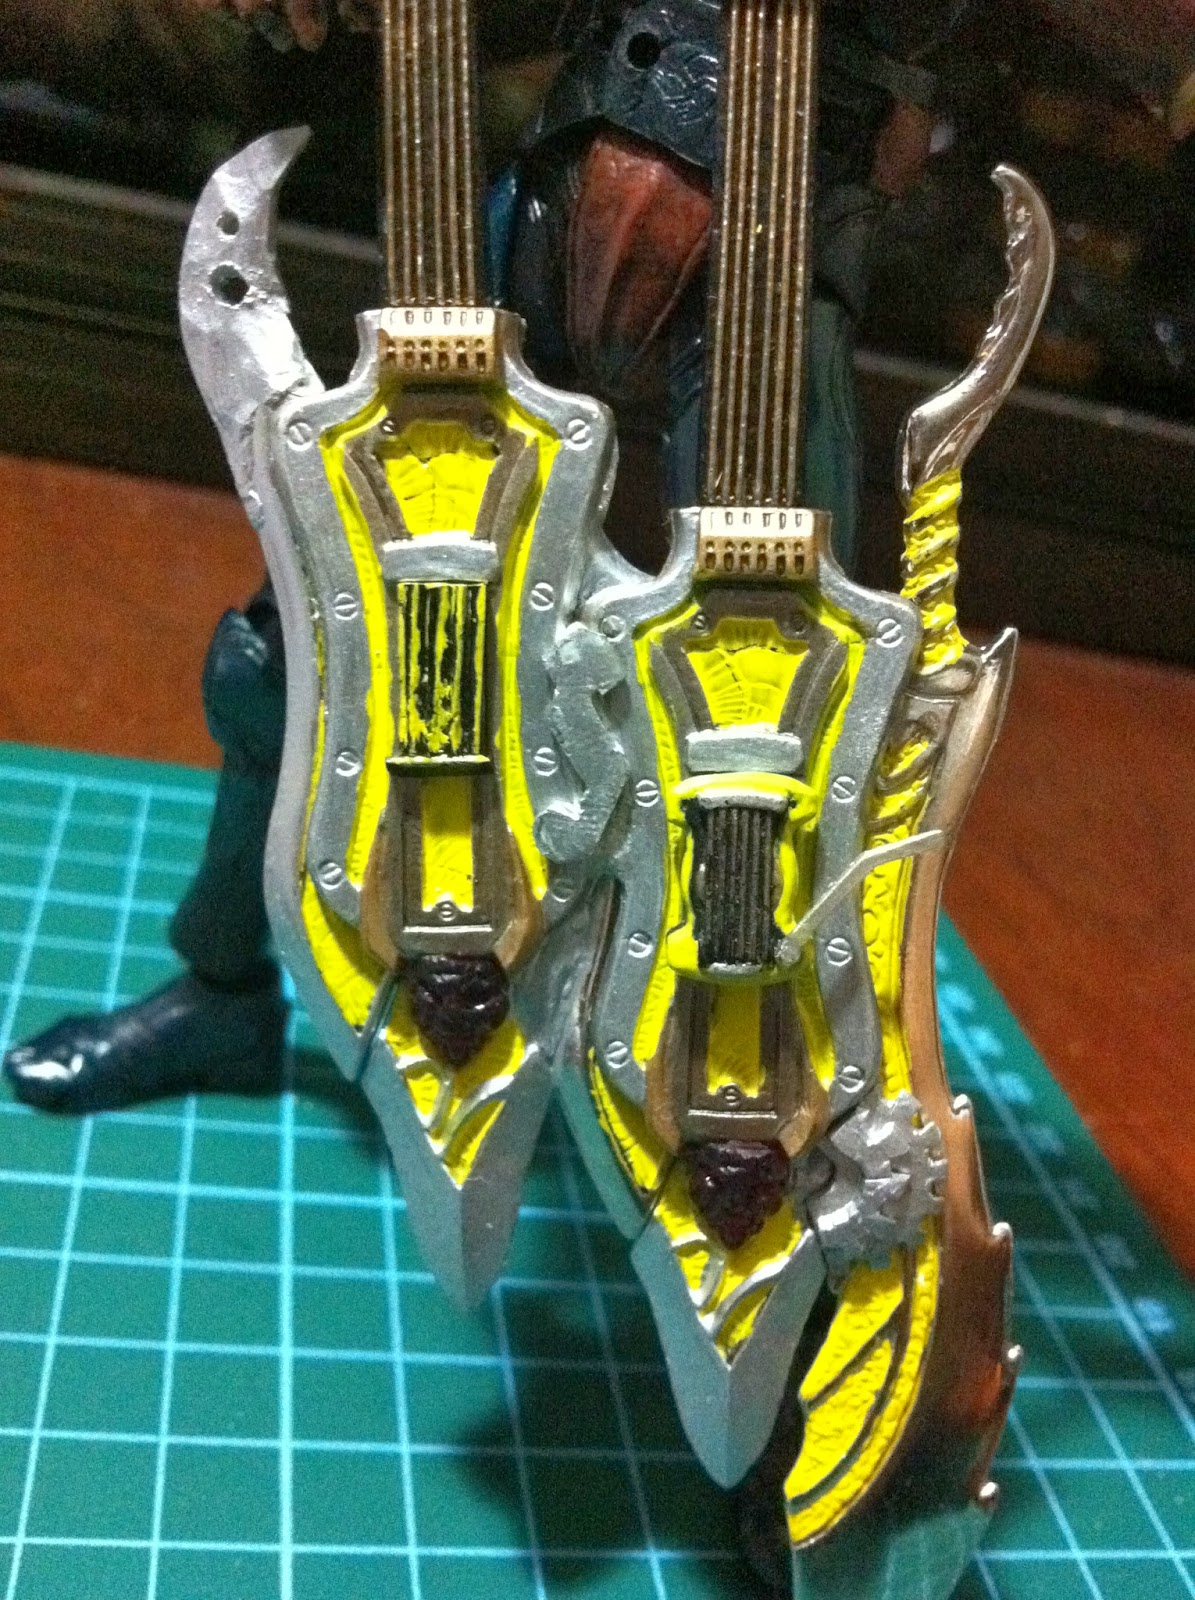
Long sword sculpt
a) Use a Gundam Exia 1/144 sword handle as a template and replicated it with oyumaru resin and putty for use to make the long sword handle. Extend the handle with metal wire as skeleton and epoxy putty to turn it into a 2 handed sword. Also use metal wires as its skeleton so that the hilt wont break easily from usage or rough handling
b) Cut off the chainsaw blades from G3 weapon and glue 2 of these chainsaws together with a metal wire connection between the chainsaw blades. Use the handdrill to drill holes in the surface where the blades will be connected to allow metal wires to slot in and act as support.
c) Replicate the elongated chainsaw blades with oyumaru resin and putty to double the length.
d) Connect the putty chainsaw blade with the original blades with skeleton wire frame and super glue.
e) Use putty to smoothen the connection so that the crack between the connection is hidden
f) Connect the putty chainsaw blade to the hilt with metal wire frame again.
g) Use a line engraver blade to create designs on the hilt.
h) Use a handdrill to drill some bolt holes on it
i) Sculpt a half globe using putty and use it as a template to replicate a clear globe using oyumaru resin and clear putty. Glue the globes near the hilt.
j) Sand the sword
k) Color the blade with metallic silver. Color the hilt with brass. Color the clear globes clear red and clear blue on either side.
l) Do linings using pen liner on the chainblade.


Head sculpt
1) Cut the horns off a G4 head. Position and glue them a little backwards on his head (see photo below).
2) Cut off the ear muffs from the head
3) Resculpt the facemask and the crown in his head using putty
4) Add details using line engraver
5) Add a button on the middle of his forehead by putting a tiny ball of putty on the surface of his forehead and then push the end of a twisty (from SIC boxes) on it to form a round button.
6) Cover the ugly cut where the ear muffs used to be with smooth putty
7) Sand the head
8) Color the horn metallic brass, the head matt black and the face mask metallic silver

3) & 4) Chest and shoulder pad sculpts
a) For the chest I cut off one of the lower portion of his 6-pack G3-X looking armor to show the lower abdomen more.
b) I cut off the star symbol from his right chest to be used later on once i added layers of putty on his chest
c) Add layer of putty on his chest and sculpt it with line engraver and blade.
d) Re-glue the star symbol back on his chest.
e) Note that I used different type of putty for the chest piece so I can see properly to engrave those intricate lines on his chest.
f) Sand everything
g) For the shoulder pads, add a layer of putty on the front and back sides of the original shoulder pads and let them dry. This act as the foundation for th next few layers.

h) Start adding details to the shoulder pads

i) Use a plastic sheet and glue it on the top part of the shoulder pads as foundation. Add more details on the shoulder pads


j) Engave lines on the shoulder pads with line engraver
k) Add some putty on the inner sides of the shoulder pads and then let it dry. Once its dried, add lines to the inner sides as details (see photo below)

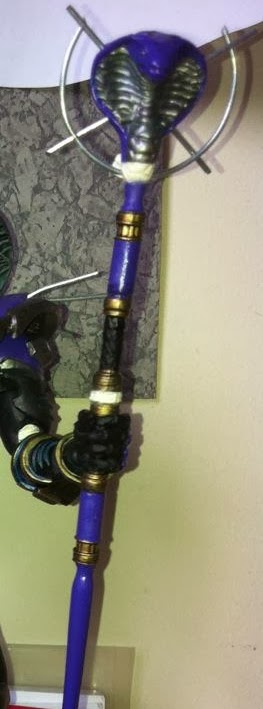
5) Scabbard
a) Cut 4 pieces of plastic sheets as the foundation for the scabbard
b) Cut small pieces of resin/rubble and glue them to the bottomw piece of the plastic sheets as support stubs to glue the side plastic sheets on the bottom piece.
c) For the top piece of plastic sheet, use metal wires as support and glue the metal wire to the top plastic sheets then glue the metal wires on the side plastic sheets, see photo below.
d) As design, I replicated parts of a rotary gun using oyumaru resin and putty and glue it on the scabbard
e) I covered the gaps with putty
f) Sand everything
g) Spray a coat of primer on chest and scabbard
h) Cut off G3's backpack and create some putty designs on the surface and glue the scabbard on his back
i) Repaint the figure with the color scheme you find in hte photos below.
j) Spray the entire figure with a topcoat. I made a terrible mistake here. I should have sprayed with gloss top coat but i sprayed it with matt coat instead which took the shine out of the metallic color scheme :(
6) Belt
Nothing much here except i glue a clear vinyl button on it (something that came with my previous purchase as a gift from taobao, not even sure what it was for but it sure is suitable here).
Repaint the button with clear yellow to form the orb in the middle of his belt.


Here is the finished product photo gallery :)
I am not sure if people will like this new way of describing the process but its a lot simpler and people dont get tired reading long winded paragraphs ;p It did get impersonal though so Im not sure. Any comments on this are most welcomed!


Darrnn after posting this photo below i realised i totally forgot to do lining on the top of his right shoulder pad ;p

Ah i forgot to mention that I added a slot at the side of the scabbard to hold the SAUL shield. The slot is actually part of the nozzle of a used tube of super glue that i cut off.


Please tell me what you think of this custom, tutorial or what nots by leaving a comment on this post. If you have any questions on sculpting etc, do let me know as well ;) See ya!


