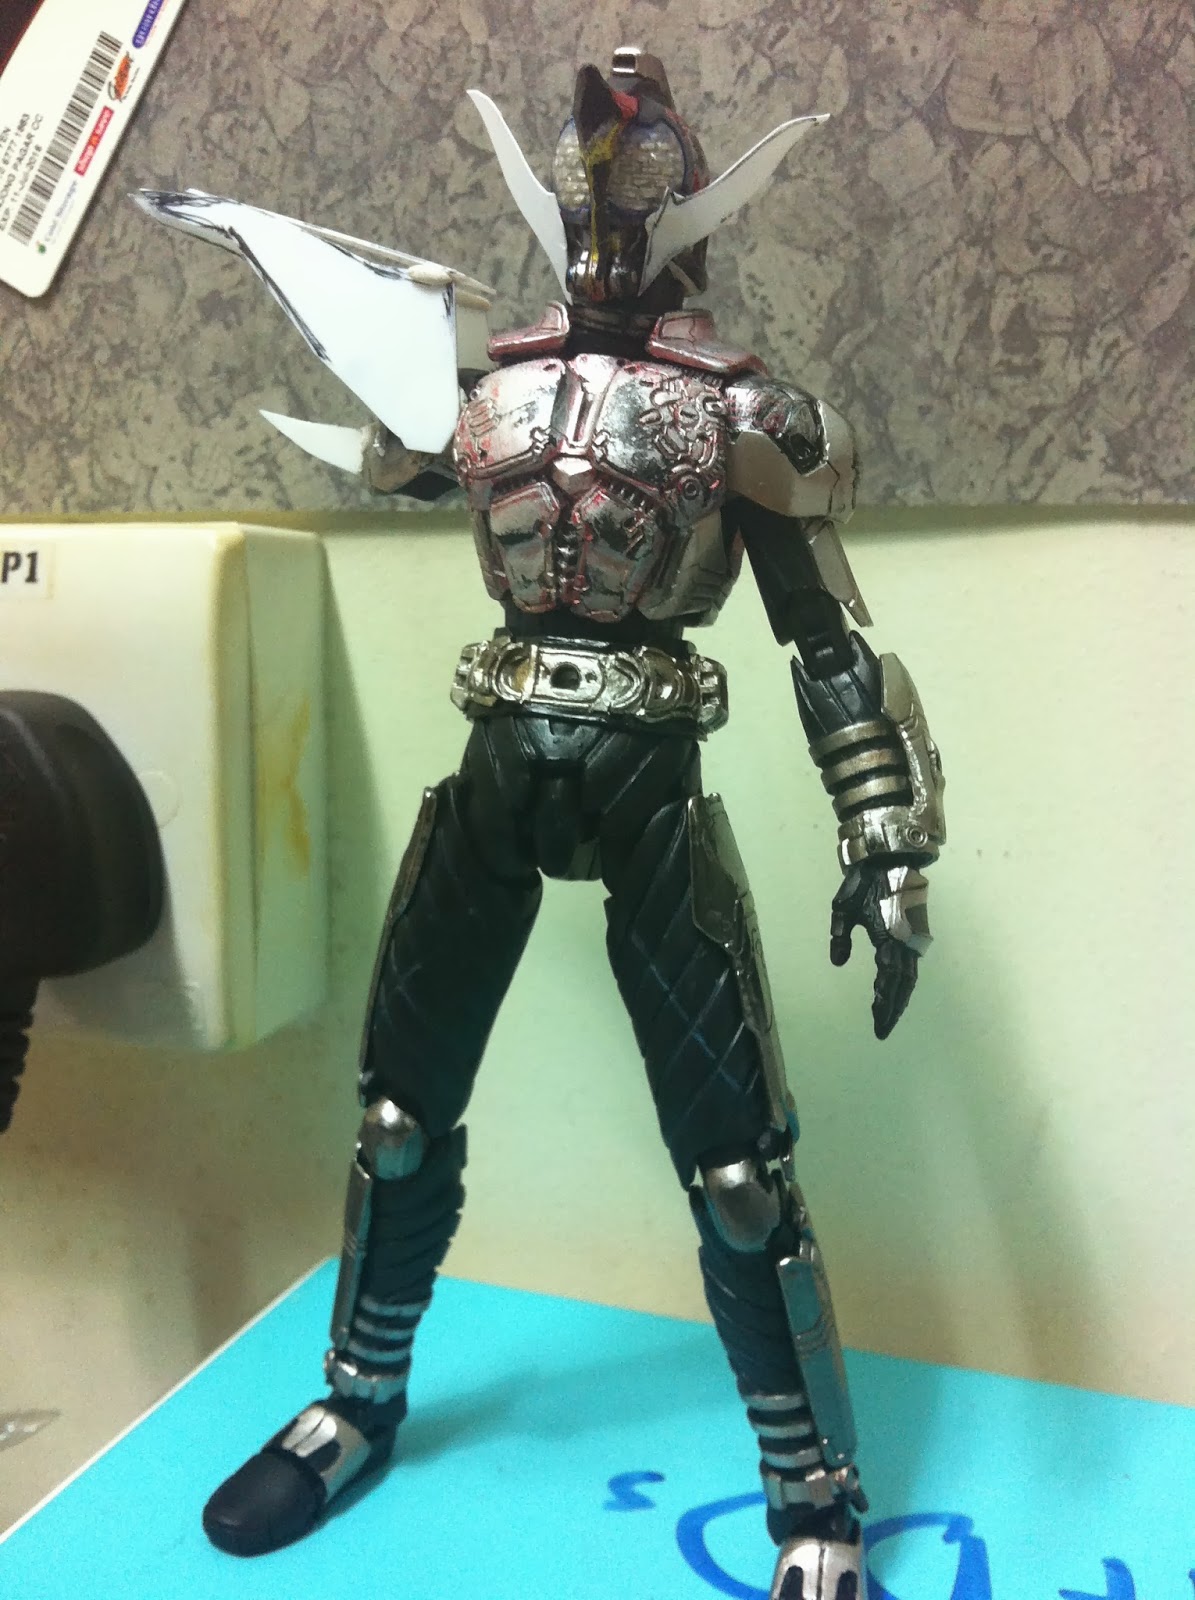
Custom S.I.C Kamen Rider Caucasus
Yes its that blue rose totting wierd guy's turn. His only appearance was in
Kabuto movie God Speed Love as the main protagonist. Frankly speaking i dont
like Caucasus, his existence has no meaning other than loving blue roses and
perfection which has nothing to do with his purpose of causing a meteor impact
on earth that will mutate the Worms :/ I could be wrong since I never watch any
kabuto series and i speed watch the God Speed Love movie ;p But you cant deny
his nice design as a rider that lovely yellowwwww..
Still that didnt encourage me to make one since I saw in Hong Kong, SPC shop
was selling Caucasus, Ketaros and another guy (can't remember his name) at a
reasonable price (At that time i have already ran out of luggage space buying
all other stuff and decided to skip these riders, not to mention the
SPC sculpt seemed off and wierd)
Then, a friend of mine challenged me that I cant make a custom Caucasus in a
week's time. And so being a sporting guy, I took the challenge but promise i
wont work more than 1 hour per night on it. I can't anyway due to my actual
work commitment and the fact that putty needs to be dried ;p
I did managed to finish it in 1 week's time and came up with a better way to
connect the giant shoulder pad to his body thanks to a suggestion from another
customiser, Miko Matsing :D
So lets get to the tutorial as usual :D
First off, I need a base body and the best i felt to be used is Kabuto
itself. This might seemed wasteful so you might try using a Dark Kabuto body
instead. But I like Kabuto's more intricate chest piece design.
Then, I know the most time consuming part would be the giant shoulder so i
went about thinking how to make one. I decided to use plastic sheets as their
base and then layer the sheets with putty to add designs. I also used plastic
sheets for his moustache as well.
The one thing I don't like about existing custom versions of Caucasus is
that their gigantic shoulder pads are stuck to their shoulders and hence limiting
upward and sideways movement for the arm. Then a friend of mine suggested to
use a double joint system for the gigantic shoulder pad and connect the joint
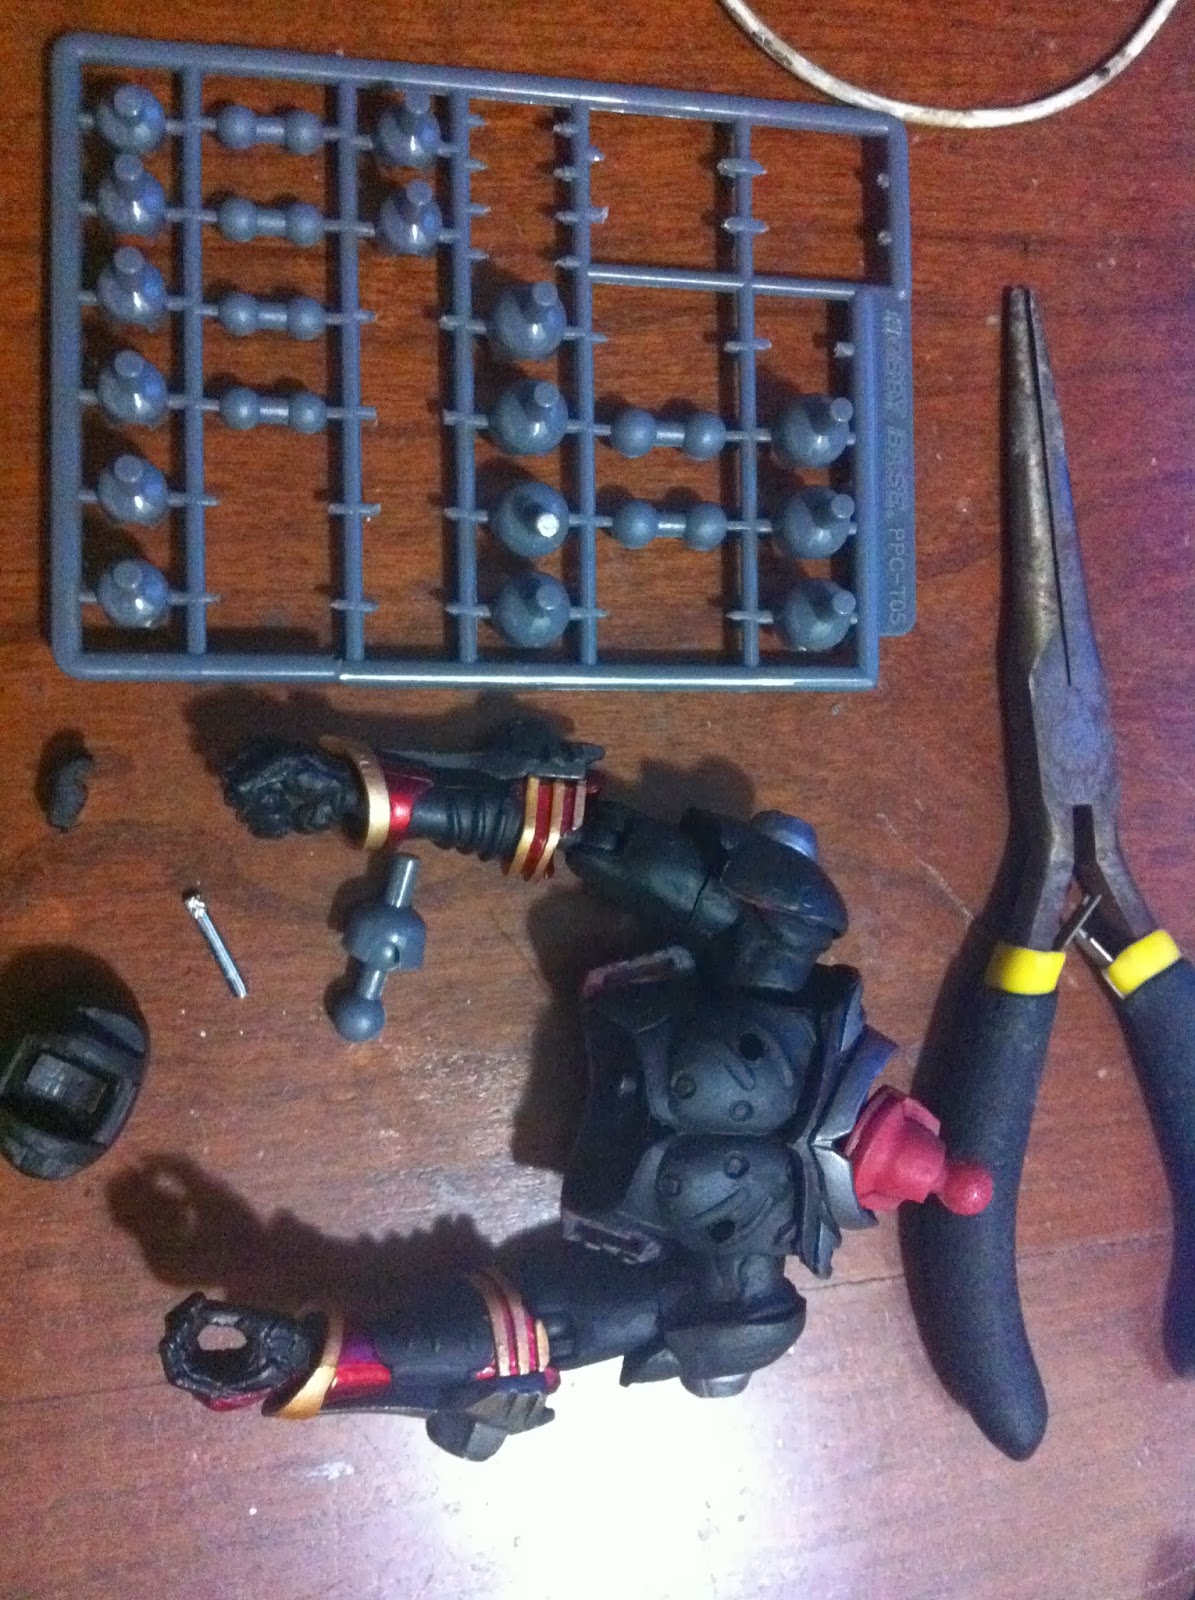
to the body. And thats what i did :D I used the following joint for this
purpose.
These joints have become increasingly useful to me as time past as a joint to replace even SIC broken joints or use as a replacement joints for Garo etc etc sometimes they become joints to held things together such as weapons to SIC bodies or weapons with weapons :)
Anyway, I used a small joint from the set and glue one of the sockets to the chest armor's shoulder and layer it with putty designs. I also layer the joint itself with putty so i can put some micro designs on it.
I then glue the other socket joint to hte giant shoulder pad. But im getting ahead of myself. Lets talk about the giant shoulder pad construction first.
For the giant shoulder pad you can already see from the photo above that the base are 3 plastic sheets; 2 sides and 1 top platforms. I then layer each of these with putty as a first layer. The 3 platforms are attached together with a block of resin I took from a gundam model as a base. I also putty up the 2 whiskers (the foundation are also plastic sheets) on his face. see photo below:
The putty on the giant shoulder pad is only the first layer. I add more layers on it with additional plastic sheets. These plastic sheets i cut them to create designs. 2 layers of plastic sheets were added each with some designs. The last part was to use putty to cover up those ugly indents created by 2 layers of plastic sheets plus more designs on the giant shoulder pads. And then we are done. Attach the giant shoulder pad socket wit hthe ball joints to the socket on the chest and you get Caucasus' shoudler pad. Fully poseable with 360 degree movement and removeable too ;)
Now the head needs a few layering of putties to do it due to its intricate designs. The whiskers were easy with one layer of putty on the plastic sheet to set the foundation and another layer of putty this time shaped with sharp edges as seen above. I cut grooves on the whiskers and added some wirings design on it. See photo above.
The small horn jutting out from his inner shoulder pad was made using 2 small plastic sheets glued together as a foundation and then layer it with putty sculpt.
For the head, first thing to do is to cut away some of kabuto's original designs on that moveable horn attached to his head. Once you have done that you can start adding details to his mouth piece. There is a few layer of putties there and you need to sculpt each one and let them dry before you add the next to allow the details to be sharp and edgy, see the first layer in the photo below:
At the end you will get something like this:
I also cut lines onto that middle horn of his but regretted doing that now. It would have been much better if i have removed the entire horn and use putty to sculpt it. That way the lines wont come off as not even :( oh well live and learn
TO BE CONTINUED
ps: checking grammar is for pussies! so forgive me T_T