Here's a very short and simple custom (provided you have the necessary tools ;p) to make a nice Kiwami Tamashii Faiz Blaster Accel form!
This is of course a non-canon character since the Blaster form never achieve accel form before but that doesnt mean it can't? So with that concept in mind, lets proceed with the custom :D
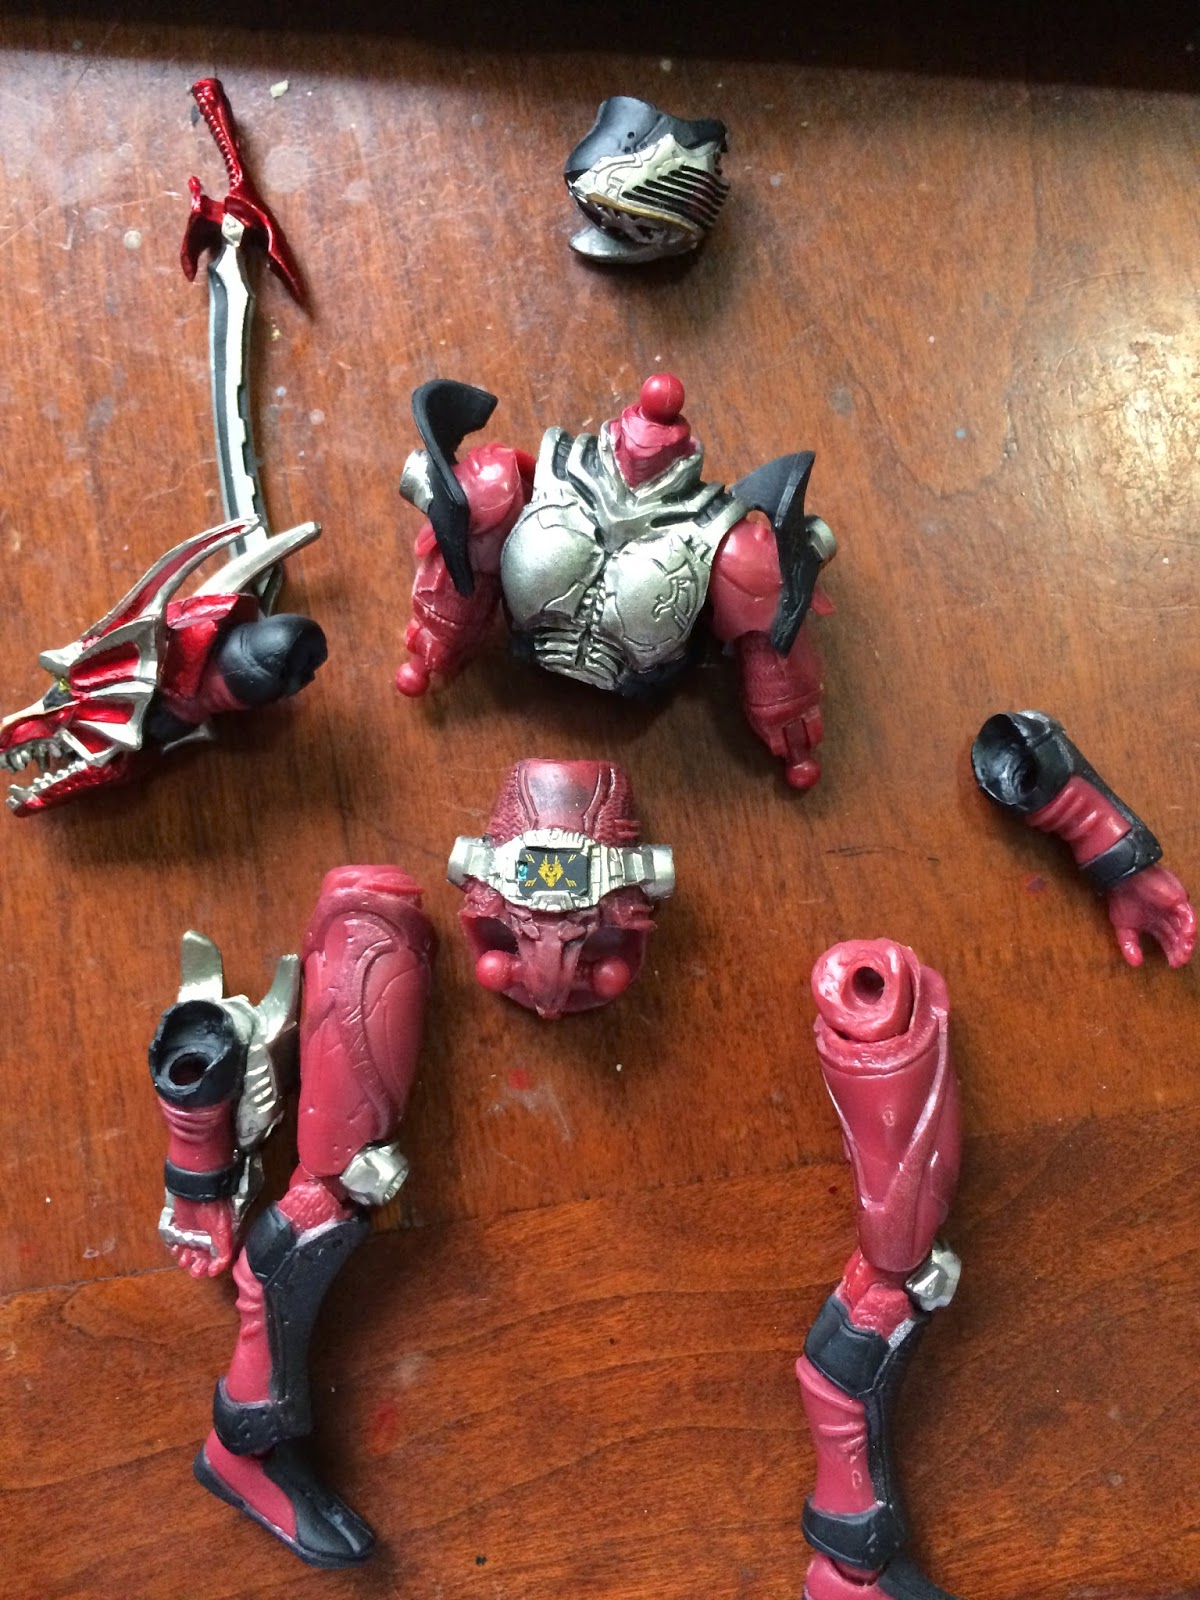
First off, use a hairdryer and blow on the figure shoulder and waist joints for 20 seconds. Pull the waist, shoulders and neck joints out. The only area you need to make changes to is actually the chest part but pulling out the arms makes it easier later when you change the chest.
Here comes the fun part. Carefully cut out the front part of faiz blaster's chest portion. Make sure the sides of the chest piece are cut deep enough to later affix the new accel chest piece on it without it being protruding out.
Next, use Oyumaru Resin to replicate Faiz Accel's chest and make an epoxy putty replica of the accel chest (see photo below). Try to make as thin an accel chest replica as possible. This is to allow the putty replica to fit on faiz blaster chest without it being protruding out.
Now once the replica putty accel chest piece dried completely, cut off any portion that is in excess and measure the putty chest piece on the faiz blaster chest to see if it fits nicely. If it doesn't, cut parts either from the putty replica or faiz blaster chest to make them fit properly. Next use epoxy putty to seal up the space underneath the replica putty piece and on top of the faiz blaster chest piece. See photo below. Use the end of a toothpick to stuff the putty into the area and make sure no excess putty restricts the waist joint when it connects back to the abdomen piece.
If you didn't measure the replica piece properly (like me ;p) you may have gaps at the sides between the faiz blaster chest piece and the replica piece. Use putty and sculpt some details on these gaps to close them up.
Also make sure the replica putty chest piece does not hinder the abdomen piece when it connects back to the faiz blaster chest piece so that it allow some abcrunches.
While waiting for the putty piece to dry and stick permanently to the body, start working on the cut off faiz blaster front chest armor.
First cut them into half (see photo below). Next try to cut their underside off as much as possible. This is to allow the front chest pieces to be able to reattach back on top of the putty replica without it bulging out too much as the details on the putty replica push on them.
Ok the next part of the custom is not represented by photos as i forgot to take them ;p. The entire custom was done in 2 days time so it was quite fast. What I did was to make a way to reattach the front chest pieces to the putty replica to allow open and close movement of the front chest pieces to represent normal faiz blaster mode and faiz blaster accel mode.
This is easily achieved by using metal wires as connectors. You need to drill holes on the front chest pieces to poke in the wires and drill holes on the replica putty piece to allow the wire to be inserted on it thus connecting the front chest pieces to the putty replica.
The tricky part is to make sure you drill the holes in the correct spot to allow the connected front chest piece to look right. For example, my first attempt at placing them was done incorrectly (see photo below) the front chest pieces was too 'front' making them look wierd from the side plus it juts out too much in front.

I have to make several attempts at drilling at the right places (see photo below) including drilling a couple of times on the front chest pieces. I wanted to achieve two objectives: (1) that the front chest pieces can be positioned right in front to represent a normal faiz blaster mode and (2) it can also be opened up and lifted up on its shoulders to represent accel mode but high enough at a position that the front chest piece doesnt look too jutted out to the front. Although 2 of the 4 holes you see in the photo below ultimately was not used, they were concealed quite well by the fact that those parts were suppose to be matt black anyway so the holes are hardly visible.

After a number of drilling attempts, I finally realised i can never achieve the above 2 objectives without some kind of complicated connection involving moveable hinges. So I did the next best thing. Instead of 1 hole on the putty replica, I drilled 2: One near the top front part of the putty chest and another one at the top of putty replicae (the 2 holes per sides on the photo below are mistakes i made. The hole at the top of the putty replica can't be seen in the photos unfortunately as I didnt take photo of them ;p) When you want the front chest pieces in normal blaster mode just plug them onto the holes at the front of his shoulder. When you want the front chest pieces on the top of his shoulder, plug them onto the holes at the top of his shoulders.
Now the next and final step is to simply paint the front accel piece. I use Mr Color paint.
The paint sequence is:
1) Super Metallic silver on the lines around the accel chest
2) Clear red on the globe at the centre of his chest
4) Matt black on the exposed mechanical part and the undersides of the front chest pieces
5) Repaint the lines with metallic silver in case the matt black or clear red overlap them
4) Dark iron mixed with silver on certain mechanical parts to differentiate them apart
5) Metallic gold and metallic green on wirings
6) Use a pen liner to line the edges
And we are done. NOTE: the right thing to do is to prime the chest piece before applying the first paint coat which I didnt do ;p
Spray a matt topcoat over the chest and there you go. Enjoy the gallery below and have a good weekend ;)
Very tempted to do a Delta Accel form too but ill probably get bored halfway doing it ;p
I realised later on while taking photo of this guy that those extra holes i drilled that wasnt workable still have their uses. For example, you can now use those holes as connectors to show faiz blaster accel form in various stages of transformation :)
And here is a comparison of the original faiz blaster with the custom faiz blaster accel form.