
Hope everyone enjoyed the Labour Day holiday!
Here is another installment of the Hyper Zabee custom!
This time round we will tackle the following workstreams:
1) Giant Shoulder pads
2) Giant Perfect Stinger

Shoulder pads mod
The shoulder pads are the most lengthy workstream besides the head mod due to the fact that you need to wait for a lot of stuff to dry before proceeding to the next step plus I got lost in the design when I found that the shoulder pads I made was way too large :( you guys better learn from my costly mistake!
Anyway to start off the mod, cut off punchhopper's shoulder pad horns and cut a large hole into the shoulder pads to fit in those vent-like part I scavanged from Alternative Zero's belt. Cut the holes into the shoulder pads like so:

Fit the vent part from Alternative Zero belt on the holes to see if it fit in nicely or not. If not, cut the hole larger. For my case, I actually cut until a large hole that you can see the underside with appeared on the shoulder pads ;p but that no biggie, I later sealed it back with putty.

There, it finally fits in nicely. Glue the vent part onto the hole and let it dry.

Add putty (these putty are those parts that were extras that were cut off from the various other workstreams such as the chest mod and the head mod. This way I save those putty from being unused) to further secure the vent part onto the shoulder pad (add putty on the outside and inside of the shoulder pads) plus to shore up those ugly gaps between the shoulder pads and the vent part. Add more putty on the sides of the shoulder pads like so:

These putty at the sides of the shoulder pads act as a surface for you to glue in the plastic sheets that form the larger shoulder pads later. See photo above.
Now start cutting off shoulder pad-sized plastic sheets as foundation for the large shoulder pads mod. You will need 2 pair of them for each shoulder pads. Make sure you measure the plastic sheets correctly to allow the sheets to be placed at the front of punchhopper's shoulder pads to be properly connected to the sheets to be placed at the back of punchhopper's shoulder pads.

Drill holes onto the bottom side of punchhopper's shoulder pads (back and front) and drill holes on the plastic sheets to allow the plastic sheets to be bolted onto punchhopper's shoulder pads like so:

Do the same for back and front. Before you add on the shoulder pad, use sandpaper to sand the plastic sheets first (back and front). Glue the plastic sheet onto the putty surface on the punchhopper's shoulder pads securely. Then glue the bolt onto the shoulder pad as well.

Here is the tricky part. Really hope you won't get lost in my poor descriptions ;p You need to glue the plastic sheets at the front to the ones at the back. For the part to be connected nearer to the head (the lower portion), I used a triangle-cut resin as a connector and glue the parts together like the photo below (the black color bit you see underneath the plastic sheets).
For the outer part to be connected, I actually put a ton of super glue in between the plastic sheets to connect them together (I later use a tiny triangle resin to connect the other shoulder pad, both ways works). I held the two plastic sheet together for like 10 minutes to let the glue set in! ;p Once the glue dried I added more to make sure the plastic sheets connect securedly.

Finally the large shoulder pads are ready to be puttied on. I add putty on the plastic sheets like so, make sure the surface are as smooth and even out as possible. You can cut sharp edges by allowing the putty to dry for 2 hours before cutting the excess putty off the edges:
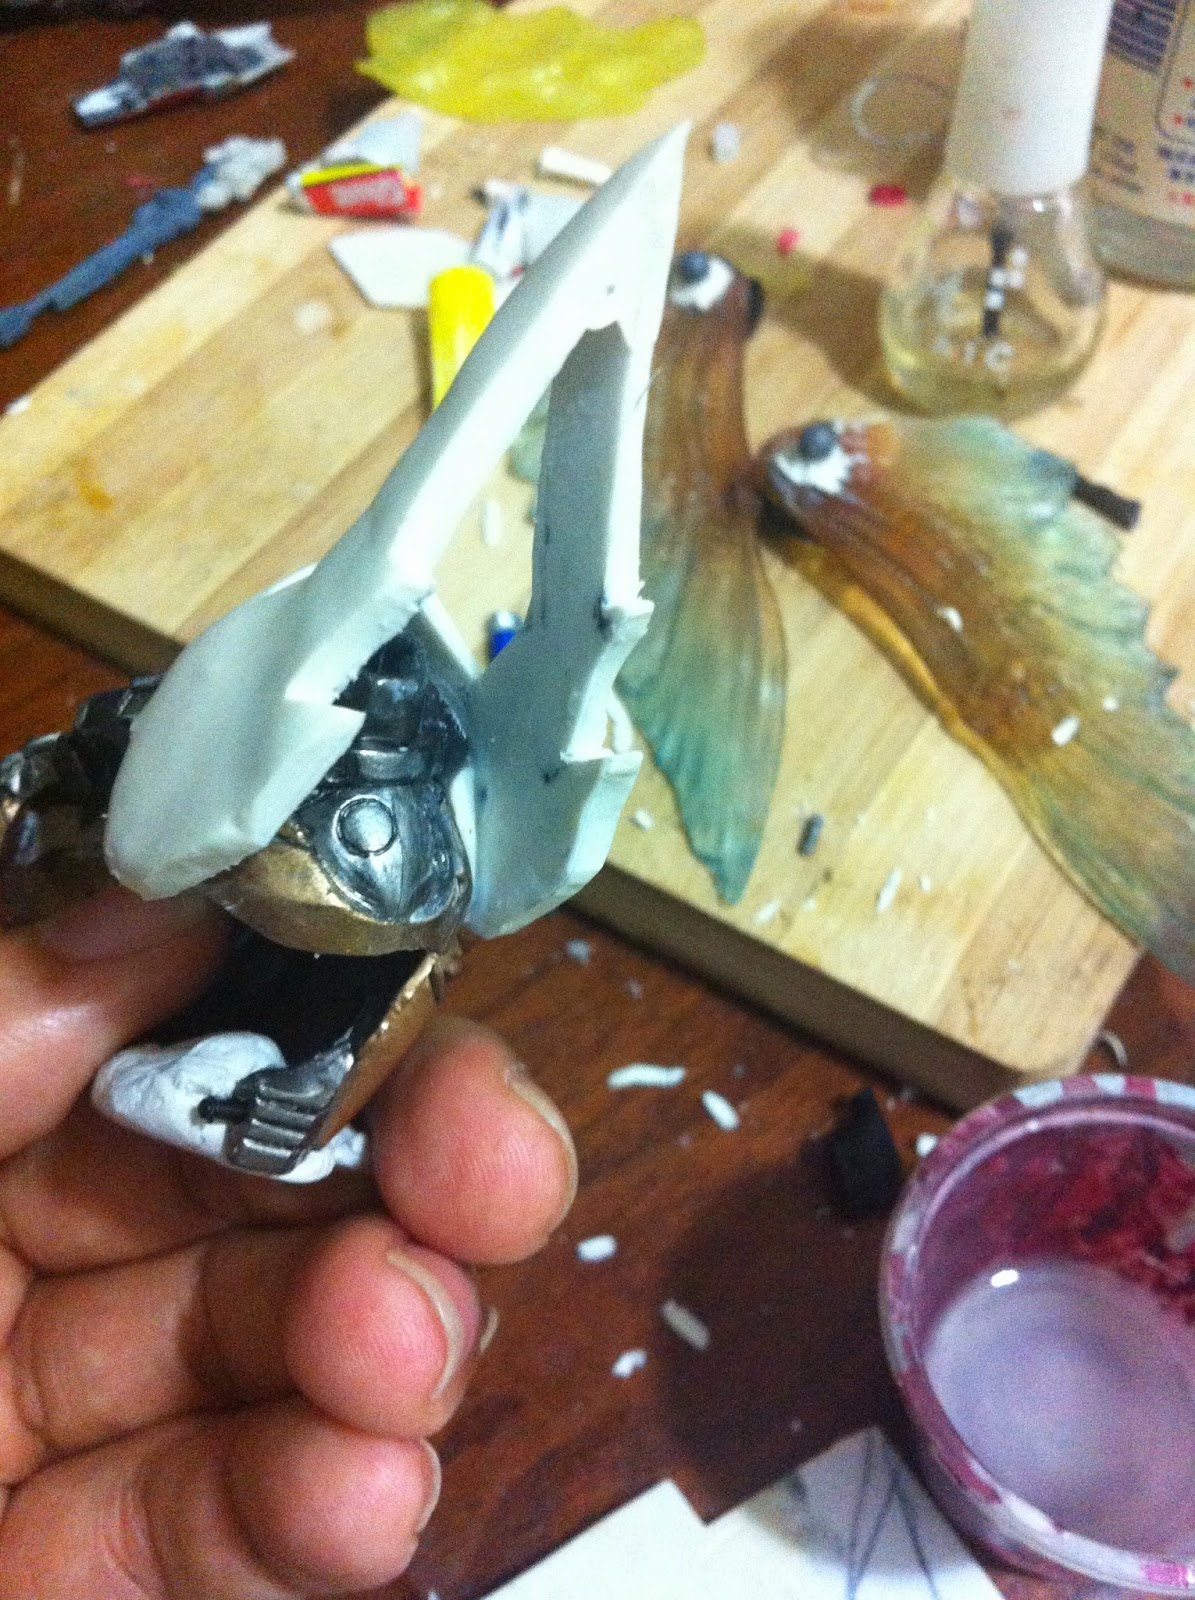
I then draw designs on the shoulder pads to see how the details would look. This took quite sometime as I finally realised the shoulder pads were way bigger than i originally designed it :( Too late to change it now as removing those plastic sheets and putty could damage punchhopper's original shoulder pads :(

I then start adding on additional putty layer as design on them. I added those hive designs on them to make it more bee-like (didnt really help much though -_-"). I also added groove lines on the internal edges of the shoulder pads to add more details on it like so:

Giant Perfect Stinger mod
I ditched the original rail gun design as by this time I was a bit flustered with so much time taken on the figure already and I was still having doubt of making a giant railgun cum stinger for his gun due to weight issue and the fact it further brings hyper zabee away from his original design.
I then realised I have this unused messed candy toy One Cain series armored core Crest figure (see photo below, I can't find the candy toy photo so I used a model kit photo to show you how it looks like) and that I can re-shape it into a giant stinger :D

With that thought in mind, I started cutting the armored core figure up and restructure it like so. I also added a gundam light saber as his stinger (I used my handdrill to drill a hole at the tip of the gun to allow the gundam ling saber to be inserted inside):

I then sand all the parts up for the later repaint step and glue the cut up parts into this shape:

I drilled a tiny hole onto the black square slot on the shoulder pad like so. This act as a connector for the stinger later on:
so: 
I cut off the handle from a gundam shield and added onto the underside of the stinger like the photo below. I also drill a hole on the stinger that coincides with the hole I drilled earlier on his shoulder pad. I glued a metal rod onto the hole on the stinger. This metal rod act as a connector to the shoulder pad and steadies the giant stinger. Also I realised punchhopper's left fist is a closed fist without holes to allow holding objects, so I drilled a hole on the closed fist to allow the gundam handle on the giant stinger to be held by it like so:

We are finally done with the reshaping of this Giant Perfect Zecter. I call it that as I am coming from the angle that Zabee uses the Perfect Zecter to combine with his stinger to form into this Giant Perfect Stinger! The actual case is because I can't find a spare Perfect Zecter handy to make a Perfect Zecter Stinger mod ;p

All right, spray the entire giant stinger with primer paint before repaint and we are done for now!! See you in the next installation of this tutorial!

Interesting method is customizing the shoulder pad. So, the putty overlaid on top of the plastic to form the "grooves"? So, you cut/removed the part other than the bee pattern all the way down to the base plastic? Do you wait for putty to dry before removing them? Then you need extra caution in cutting them as not to damage the base plastic :D.
ReplyDeleteI am sure there are other methods to make these shoulder pads but for now I am sticking with plastic sheet foundations :)
DeleteAnd I wait until the putty are semi dry (dry enough to be cut without losing its shape) before I cut it. Its ok if I slice into the plastic sheets, I used quite thin ones for that purpose and so long I achieve the shape I wanted. I made the mistake in the beginning by slicing the putty when it wasn't even semi-dry (thanks to impatience!!) causing some of the shoulder pads' sides to appear not edgy enough :( Thats why I always say patience play a very big part in customs :)