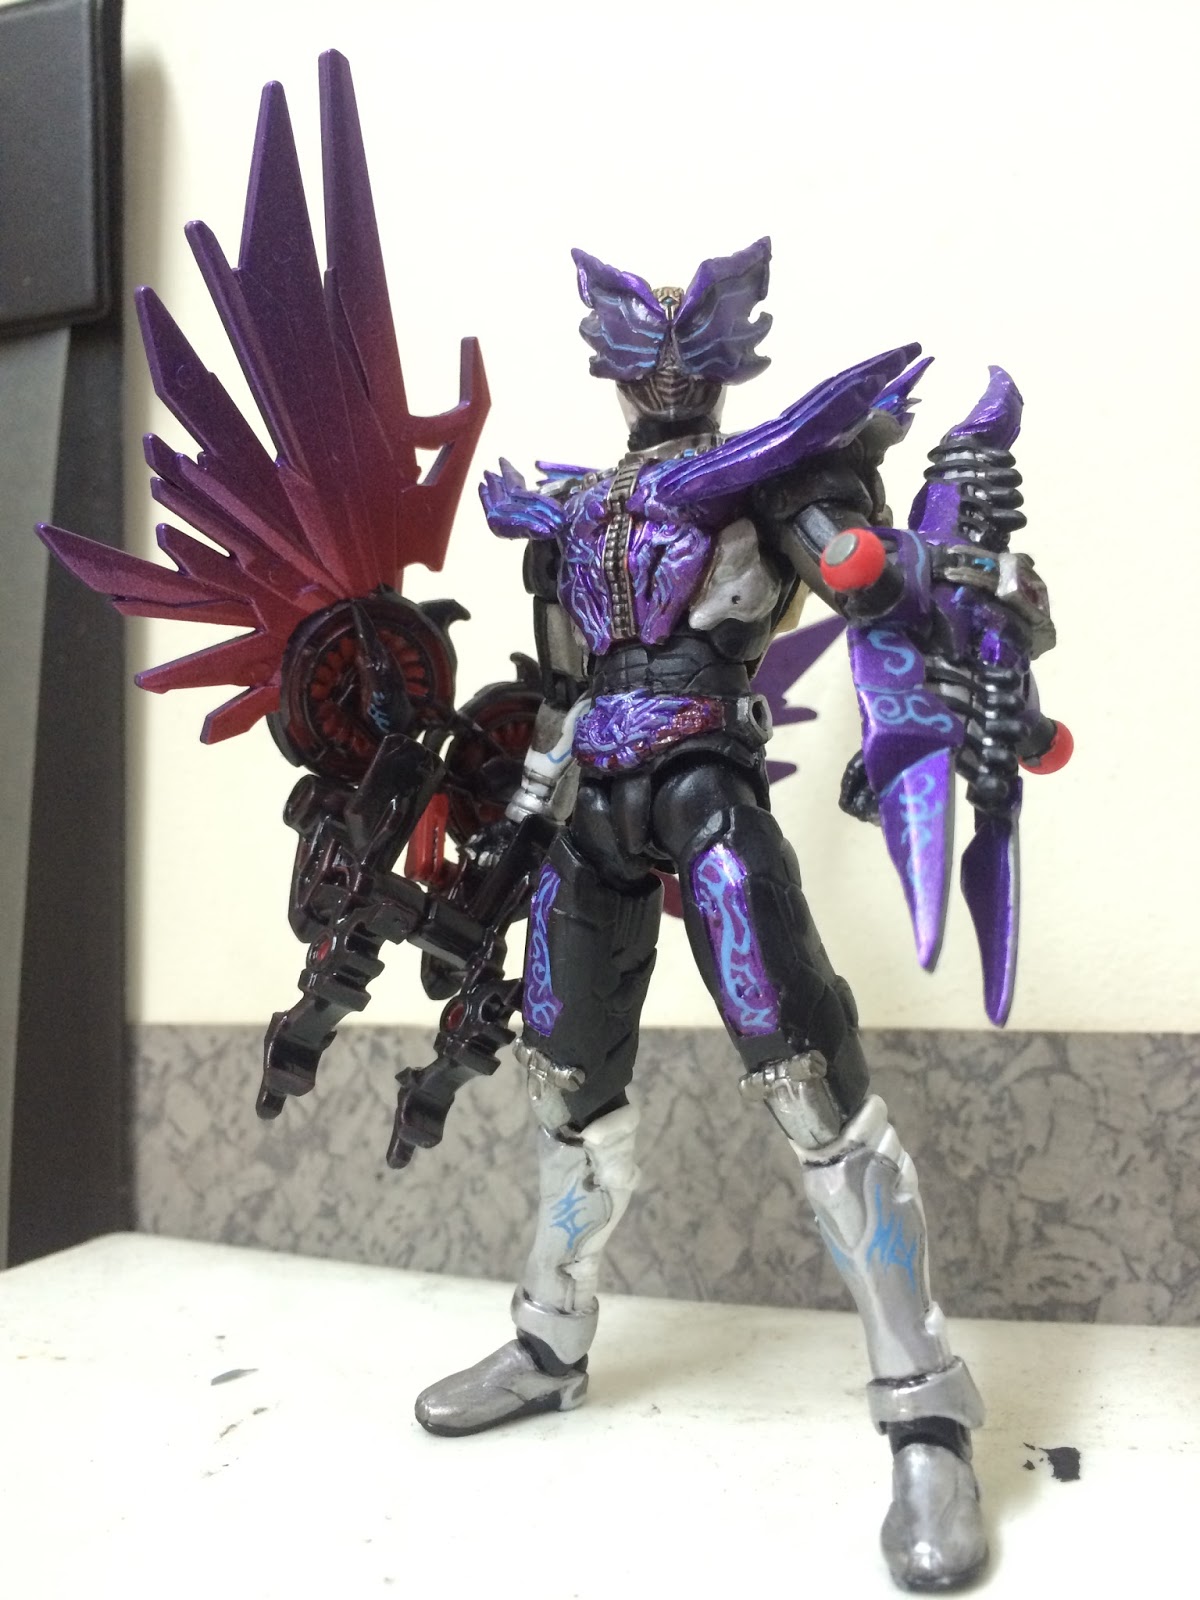
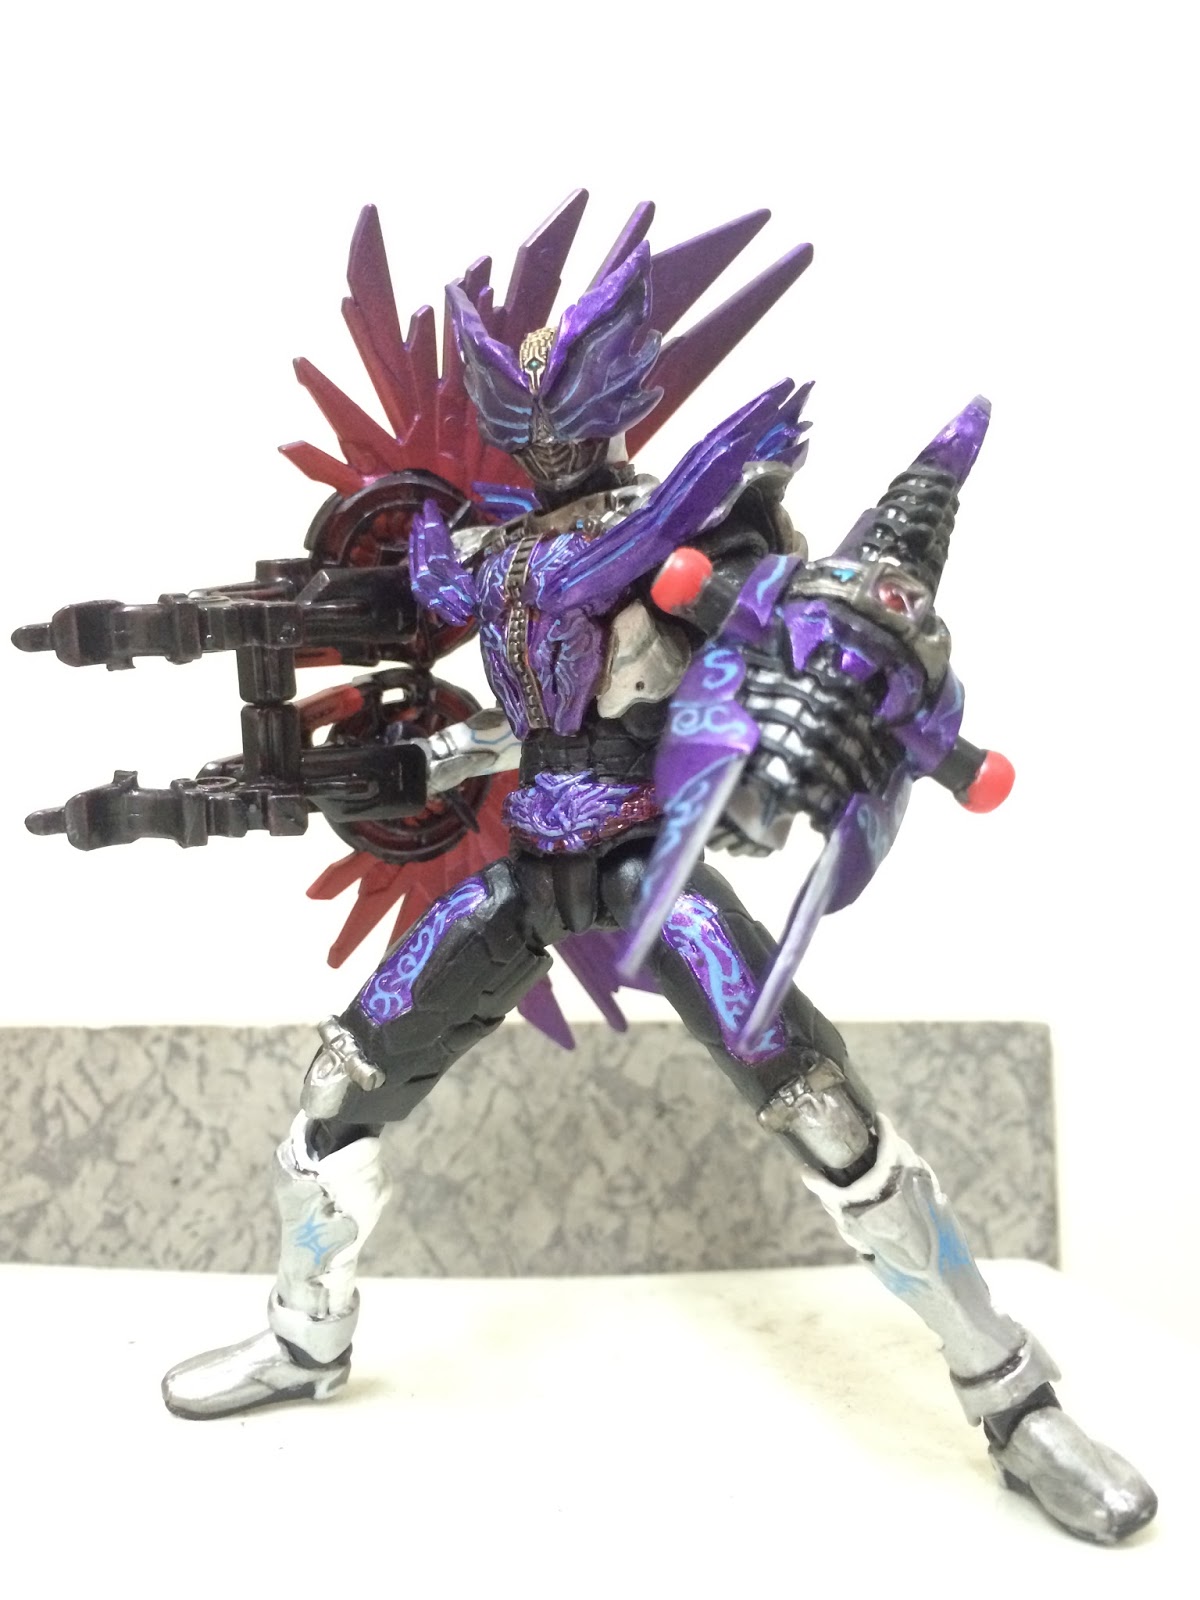
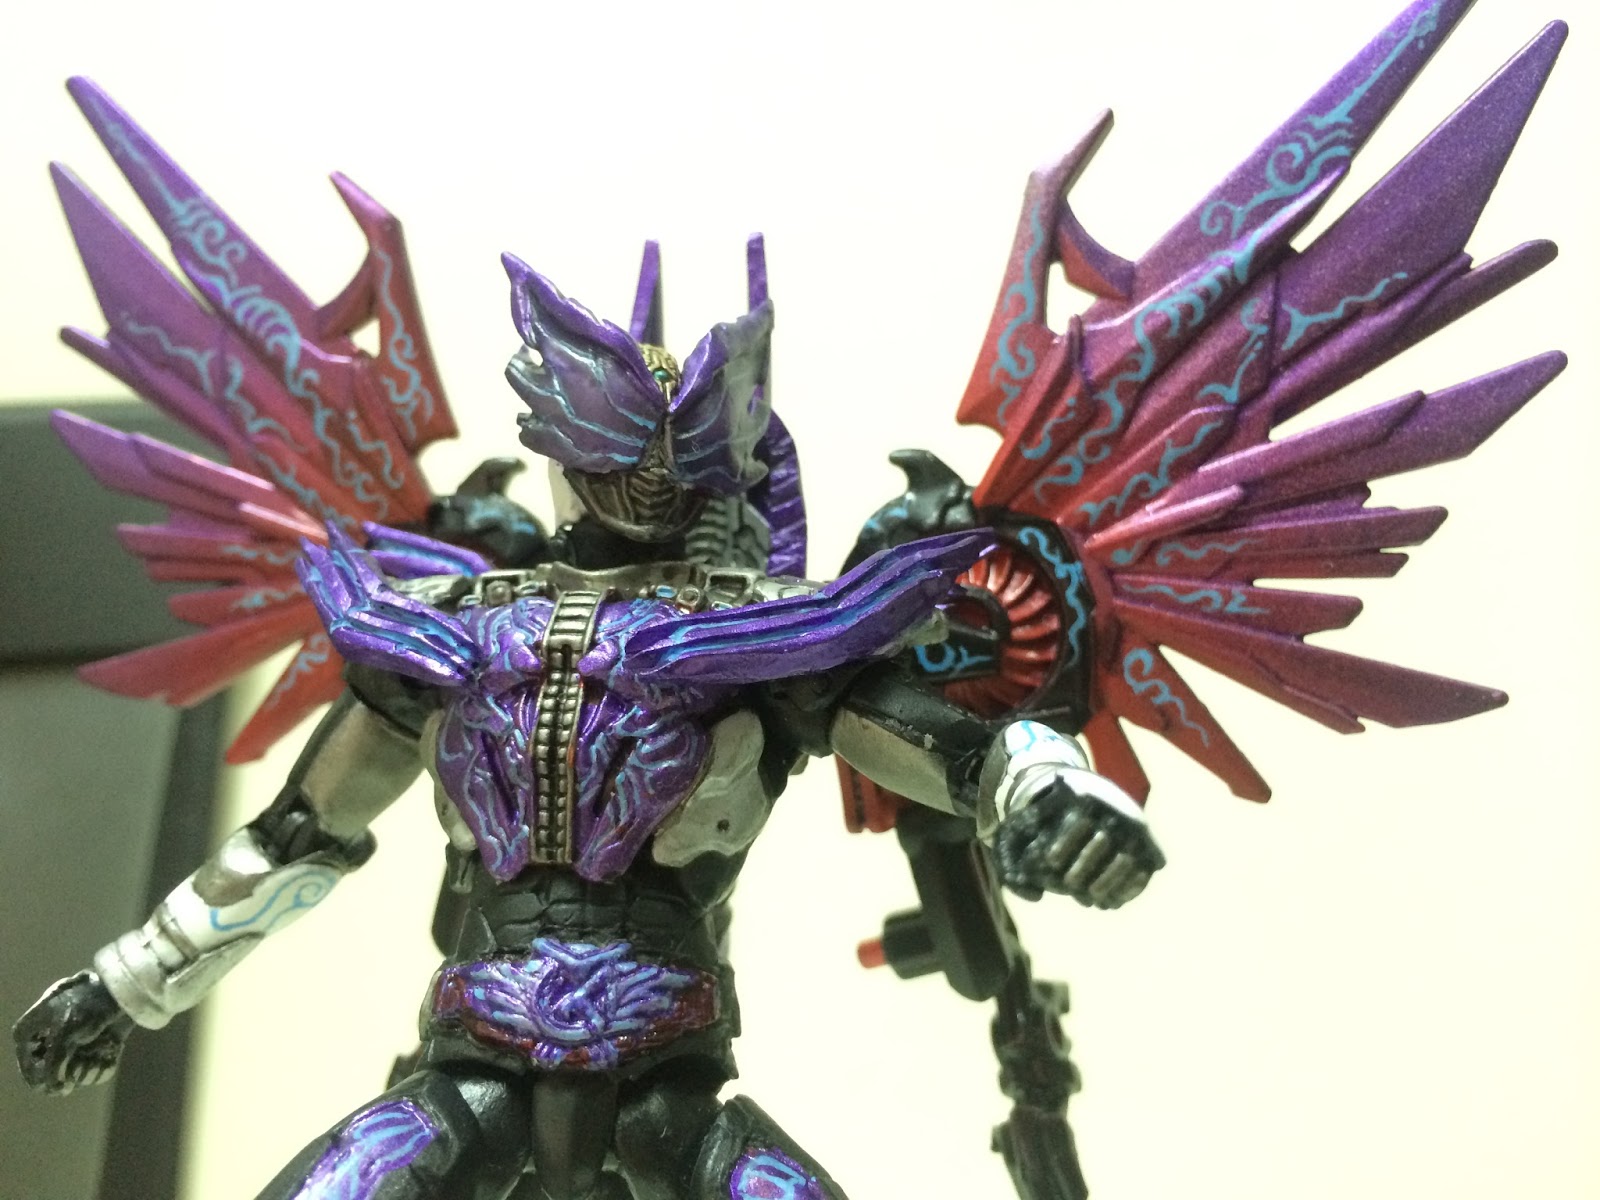
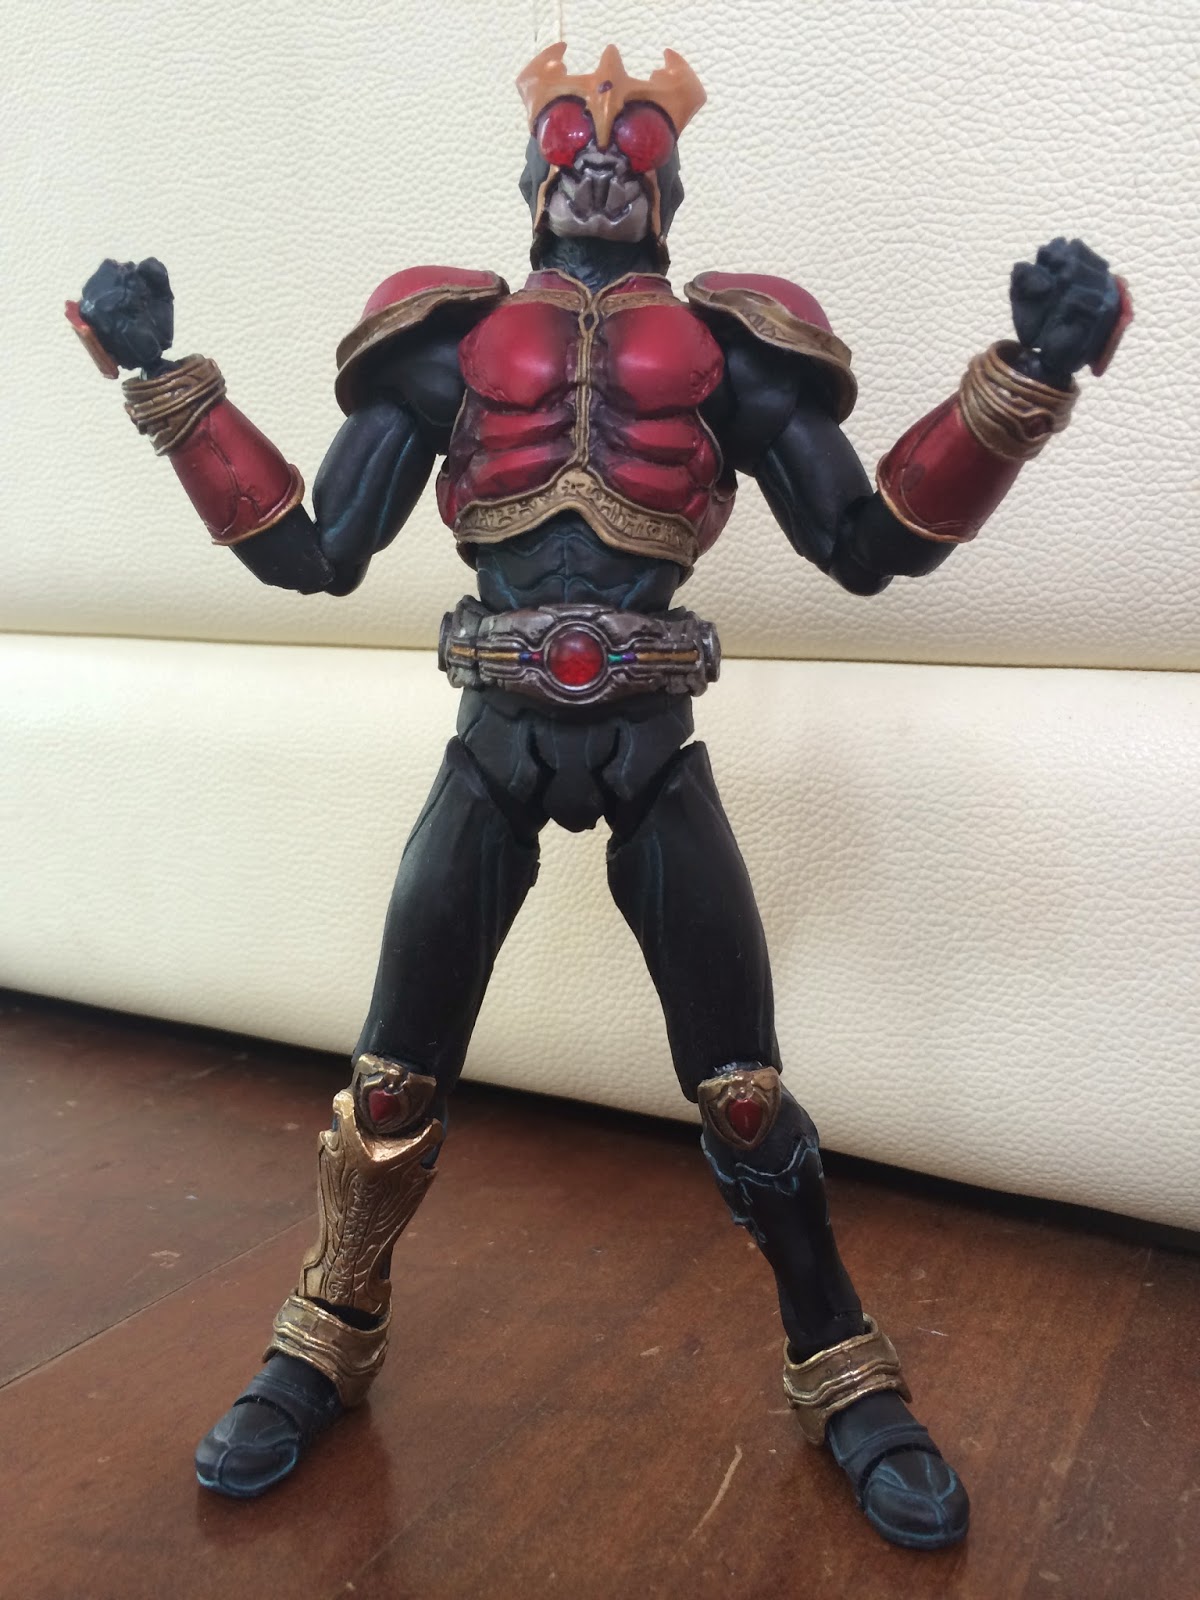
This is the first time I have seen a broken Tatoba grasshopper joint commissioned by a friend to get it repaired. I was surprised as I understand that set is quite stable in terms of its resin. However, when I inspected the broken joint, I saw that the joint itself was already being pulled half way out of its socket. The owner must be quite rought with it and tried to pull out the socket when he isnt suppose to :/
Anyway on with the repair tutorial then.
First, you need the following materials:
1) Revoltech single joint black 10mm
2) Epoxy Putty
3) Super glue
4) Matt black paint
And here are the repair steps:
1) Pull out the broken joint by blowing it with a hairdryer for nearly 30 seconds (the joint is really tight so need some time to heat it up to be able to be pulled out).
2) Use a blade and cut the sides next to the socket hole to create a space large enough to fit in the 10mm revoltech joint.
3) Cut the sides until you can fit in the revoltech joint like so:
4) Next measure your revoltech joint next to the upper grasshopper leg. Measure where you need to drill a hole in the upper grasshopper leg for the revoltech joint to be inserted in and that the upper ad lower grasshopper legs are joint in the right angle and position:

5) Use a handdrill and drill a hole in the upper grasshopper leg where the revoltech joint will be fitted in. Cut up some of the resin around the hole so that the larger rounded part of the revoltech joint can fit in properly. The hole you rill into the upper grasshopper leg must be slightly smaller than the revoltech joint's connection pole as you will NOT be glueing in the revoltech joint's connecion pole into the hole. Rather it will be left to friction to ensure the leg and joint stay connected. Since the material used for the upper grasshopper leg is some soft resin, the revoltech joint can be forced into the hole and it will stay in place quite well (unless you move it around in the hole really a lot then I think the joint will get easier to be disconnected but this can be solvedwith some super glue or nail polish to create more friction between the joint and the hole again).

6) Use a hobby knife to cut the upper part of the hole on the lower grasshopper leg wider to fit in the larger rounded part of the revoltech joint.
6) Measure again whether the revoltech joint connection enable the connection to be in the right angle and position again. Repeat steps (2) - (6) until the angle and position is correct like so:
7) The revoltech connection will hardly be noticeable. This is especially so after you cover parts of it with putty and the rest of the part covered by matt black paint.
8) Fill the area around the drilled hole on the lower grasshopper leg with epoxy putty. The putty will make sure the revoltech joint are well connected to the lower grasshopper leg without detaching itself or moving around in the drilled hole.
9) This step is important: Use vaesline or watered baby powder and wipe on part of the revoltech joint to prevent it from sticking to epoxy putty you have applied on the lower grasshopper leg. You should only apply the vaeline/baby powder on the revoltech joint part which will be moveable and not the part that will be attached into the hole of the lowergrasshopper leg.
10) Stuff the revoltech joint into the drilled and putty covered hole on the lower grasshopper leg. Use a toothpick to push the putty around the revoltech joint to make it connect between joint and grasshopper leg.
11) Once the putty has dried about 2 plus hours or so, move the revoltech joint that connects to the upper grasshopper leg about to make sure the putty will not stick to that part once its fully dried. Leave it to be dried again.
12) Once the putty is fully dried, use a toothpick and apply superglue onto the parts where the putty, the grasshopper leg and the revoltech joint connects. Be very careful not to apply super glue on the revoltech joint part with is suppose to move with the upper grasshopper leg.
13) Once the super glue has dried, paint matt black paint over the revoltech joint and putty and we are done :) Don't bother with topcoat as those painted part will usually won't be touched by anyone anyway.
And here is the end result of the repair:
I'll be back next with a special custom but do bear with me as work is really tough these days and taking up a lot of my time including weekends and holidays :(


