Showing posts with label Kuuga. Show all posts

Sunday, 25 January 2015

Tutorial Custom SIC Kuuga Rising Mighty Form


Just a quick tutorial. Sorry, I forgot to take photos in between paint layers coz I forgot but I'll list down the few simple steps here.

First thing is, look for reference photos to see how Kuuga Rising Mighty form should look like:

The hardest part was pinting the small symbol on his hands. I tried to use masking tapes to form the symbol but it didn't work, so its good ol hand painted symbol then.


Right here are the few simple steps:
1) Use a Kuuga vol 56 decade version
2) Sand the parts that needs to be repainted a little.
3) Paint a primer metallic super silver first. 2 layers if the metallic silver layer does not cover the red below (not easy to cover red paints ;p)
4) Paint a layer of metallic gold. You will probably need 2 layer to make sure the gold layer is evident.
5) Do black linings on the details along the gold parts. The liner will probably put in too much ink, so get ready a tissue paper and wipe some of the excess black ink. Wiping them across the gold layer will also darken the gold layer making it to be in similar shade as the existing gold layers on the kuuga armor.
6) For the symbol on the hand, hand paint, no choice ;p anyone have a better idea to paint them do let me know
7) Spray a layer of matt top coat over the painted parts and you are done.


Well that's it really simple like :)


Sunday, 30 November 2014

My new kiwami shelf :D

Nope absolutely no time to make any customs lately due to workload. Its being really pressurizing at work yet exhilarating at the same time! So yea, no customs yet ;p
 
In the meantime, I cleared one of my detolf space and decided to just display some of my kiwami customs on it instead. Compared to regular SIC, kiwamis are way smaller and this creates a lot of space on the shelf which brings out the incredible details of each individual kiwamis. Now if only I can have more shelfs to display my normal SIC in this way instead of the clutter they are in now ;p
Hope you enjoy the pics :) see ya!

I still have a custom agito flame and storm form, a hibiki todoroki custom and a couple of other kiwami customs somewhere ;p can't find them to fit into the shelf but turned out that's a good thing. The empty spaces in between the kiwamis brings out their details even more.


Bought a couple of those small bikes which I thought fit the riders really well especially the Sons of Anarchy bike for Nega Den O.


You must be wondering how Den O Wing form stands without a stand propping him up what with his heavy full putty created wings. What you can't see are blue tags stuck behind his wings and attached to the detolf cabinet itself holing the figure up. He is practically in a semi floating position actually.

 I left Zeronos Vega Form and Fourze Fire state form on the front as I feel they are one of my better kiwami customs  todate. The Ultimate Kuuga was one too but I feel he fits better together with Dark Decade and Wing Form :)


Mine you, I didn't butcher a faiz accel form to make this. I replicated accel's form chest and replaced blaster form's chest with it. The best thing about this custom is that blaster's original chest can still be closed over the accel chest :)


My latest kiwami custom todate, Zeronos Vega Form stand as one of my better kiwami custom. However, if you would read the tutorial for making this guy you will realise he isn't all that hard to make so long you have a Motion Revive Series figure and some oyumaru resin handy ;) His giant sword is actually the mini sword accessory found in the regular SIC zeronos set attached to a few of the kiwami version of his belt buckle items.

Fourze Fire state form was THE most complicated kiwami custom I did todate. A lot of resculpts, a lot of replications, and some gamble on using new techniques to make his lower arms and legs. Turned out pretty ok I guess. Those spined hoses I salvaged from Mcfarlane robot figures placed all over his chests and shoulder really brings out the details in him.


Back then I was fuming that a Kiwami Nega Den O costs S$50! I thought that was really way expensive for a small figure! So one day I managed to find a loose Den O figure and made this guy. Need incredibly steady hands and a very small brush for all those tribal tattoos of his. Maybe I should add a couple of wings on him too to form Nega Den O Wing Form. Now THAT's an idea.

This agito custom really shines all thanks to his very detailed chest sculpt. It took about 5 layers of putty details to make those bulky muscles, cracks, veins and sinews. I re-sculpted his head and then recast it in clear putty so that his horns are all transparent and he can have those shiny yellow eyes.

One of my earliest kiwami customs, dark decade's simple but tedious repaint makes him stands out solely because he is Decade! And the Japanese culture of making any sculpts repainted into a dark/black format always works ;p

 Den O Wing Form; he is the heaviest of my kiwamis thanks to his metal skeleton putty wings. Again, if you read my tutorial for making him, you will realised he isn't very hard to make. Just very tedious and need some hit or miss experimentation to get his transparent eyes and that very detailed belt buckle right.
Ultimte kuuga. Believe it or not, the hardest part to making him wasn't the sculpt itself but the painting of the kuuga simple on his tiny tiny hands ;p

Monday, 13 October 2014

Tutorial for Custom SIC Hourse Gouram tutorial

 
I used to own a custom Horse Gouram bought from the USA from another customiser. But there was a period when i fell into hard times and there was a lot of uncertainties financially so I was forced to sell it to a friend who graciously bought it (one of its legs broke afterward but my friend refused to let me refund the money he gave me back to him as he knew I was in some sort of trouble eventhough I didnt tell him what was wrong with me).
 
 
Now that things has settled back to more or less positive tone, I thougth it would be a good omen to have my own Horse Gouram back again by building one myself.
 
 
So enough with the s.o.b story and on with the tutorial ;)
 
 
First of course you need some materials and the main ones is a Lord of the Rings' horse and a S.I.C Trygouram shell from the Kuuga Decade set. Luckily, I have just managed to buy a LOTR horse recently.
 
To fit the Trygouram shell onto the horse, you need to cut it up. See how i cut it up from the photo below. HOWEVER, please take note that I made a mistake in one of the cut up potion. That portion holding the wings should NOT be cut off from the main shell. I realised that after I cut them up :/ It took me 2 days to reattach them using metal wire skeletons, super glue and epoxy putty.


I always thought my previous horse gouram which lost the ability to move its front hoofs as the customiser sealed in the activation button on the horse's buttock such a waste. So for my custom, I wanted the mechanism to work even with the gouram shell on it.
 
First you gotta connect the gouram half cut off head onto the horse. This is achieved by first super glueing the heads onto the horse. Let the glue dry and then support the connection with putty PLUS metal wires. The metal wires prevent the gouram head from moving out of position from the horse while the putty dries.
 
 
In order for me to reach the button that is hidden by the gouram shell, I need an access to the button via a hole on the gouram shell. So, I drilled a hole onto the gouram shell that will be right above the button on the horse.

Next, I need a sort of lever or extended button that can be reached from the gouram shell itself. So I drilled a hole on the button on the horse and glued a cut off gundam sprue piece on it:


The sprue stick glued to the button on the horse will stick out of the hole on the gouram shell like so:

Testing the custom made button and yay it works :D


Next Im worried about the horse legs breaking with all the additional weight on it, especially the one on the front. I need some sort of stand to support the horse but i was all out of stands. So I make a custom stand. Cutting off a long piece of gundam sprue and cutting off all its offshoots, I fashion a simple stand like so:

Next I drilled a hole right beneath the horse and connect the custom stand on it like so:

It kinda works. Aside from spoiling the esthetics a little, I think it works ;)


Next. cut a space off from the Gouram shell's back toallow the horse's tail to stick out like so:

Next, I cover that ugly gap resulting from the cut of separating the gouram shell's front head and the body with sculpted veined liked details using epoxy putty. I paint all these details with a metallic silver layer.


I also paint other parts of the armors on the horse with metallic silver.

Next color a brass or gold layer over the silver parts. To weather it, I dry paint some heavily diluted brown color over the gold. Paint all other portions (those with putty or those with overpainted gold) with matt black.

Voila we are done. I did not glue the back portion of the gouram on the horse as I dont see why i should do that. By not glueing it on, it gives me flexibvility of removing the gouram piece from the horse in case i need to store them next time. I did not glue the propulsion beetle legs either so that they can be posed in different ways (see below).


The reason why i reconnect the wing portion back on the gouram's back is obvious in these photos below whereby the wings can now be opened and closed. The propulsion beetle legs are also reconnected to face backwards like some exhausts to fit this "Beetle Battle mode"

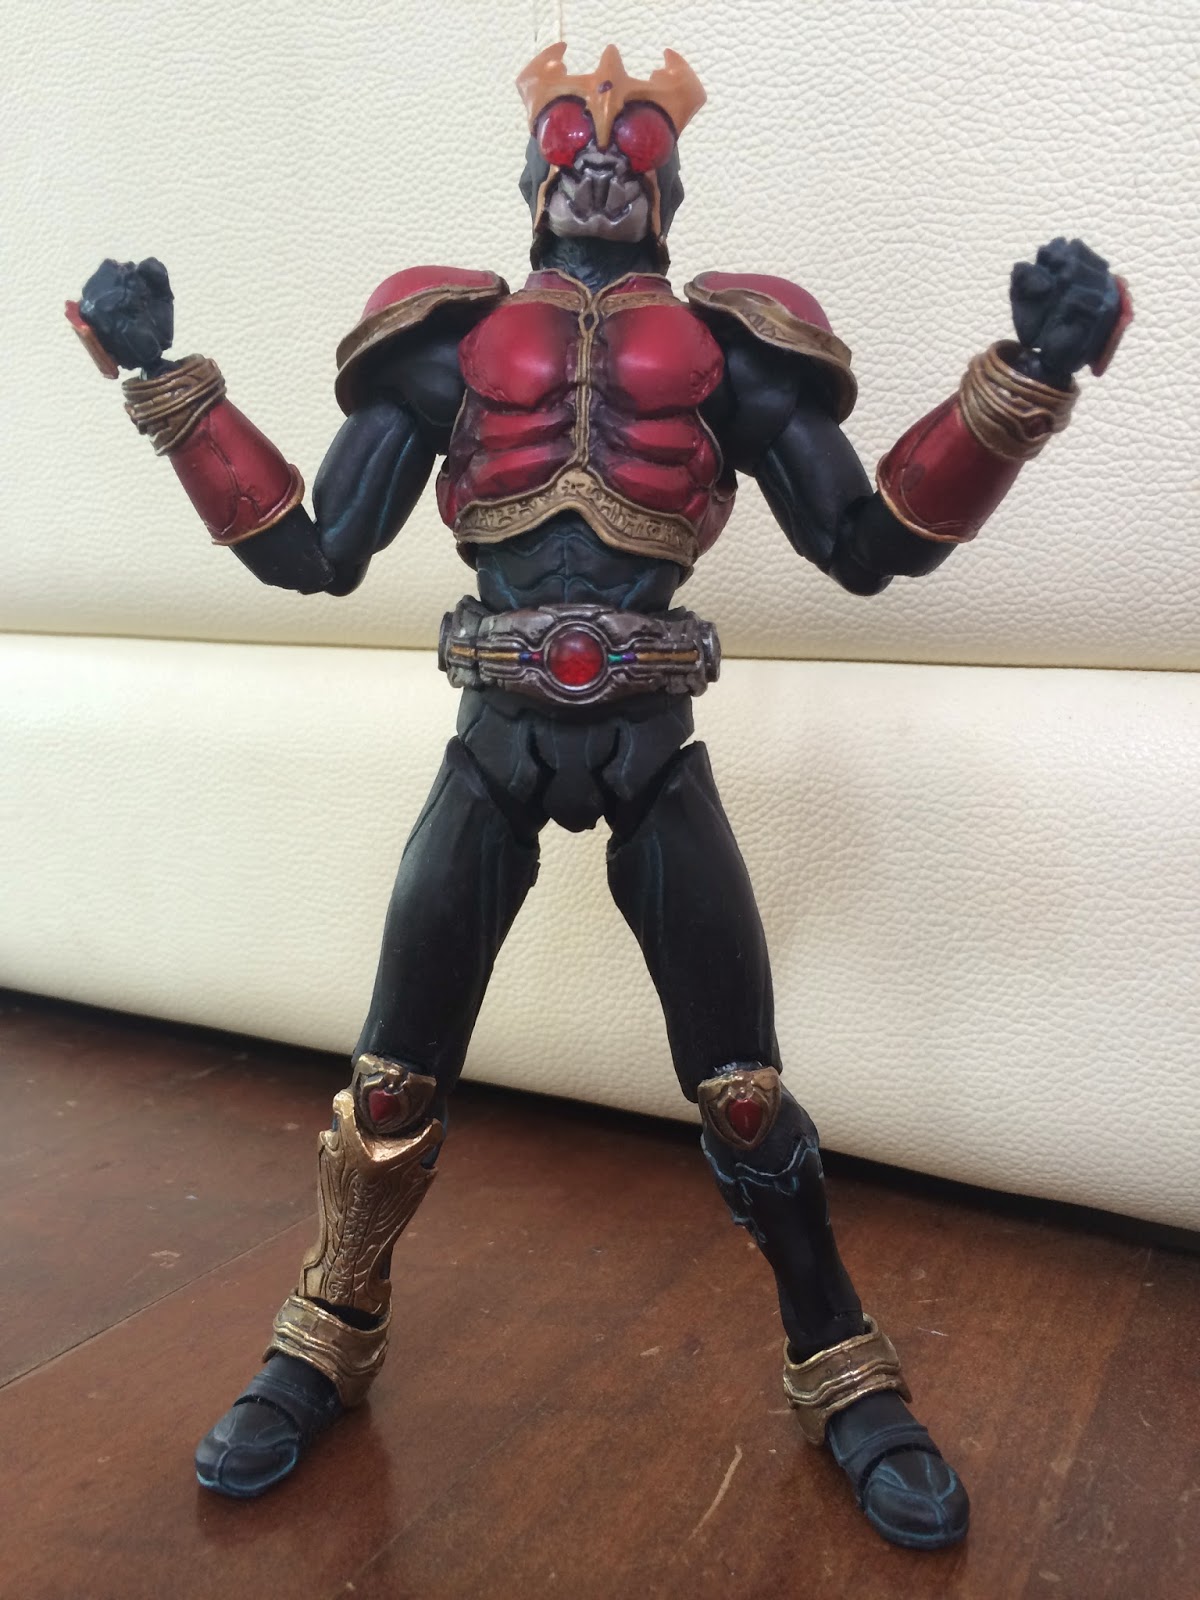
Now he is fit to be any rider warrior's horsey. I didnt have a kuuga handy so i used my custom hibki as its riders which fits very well for his Battle Beetle mode.


Or you can have a femalr riding it.

Or a lovely couple ride.


Here you can see the front hoof moving mechanism at work. When  the button I made is not being pressed the right leg is touching the ground and the left is in the air.


When the button is pressed, the right leg goes up in the air and the left touch the ground.

Well thats it for now. I still have one more custom i hope to complete before i go for my holiday and start my new job. See you all!